
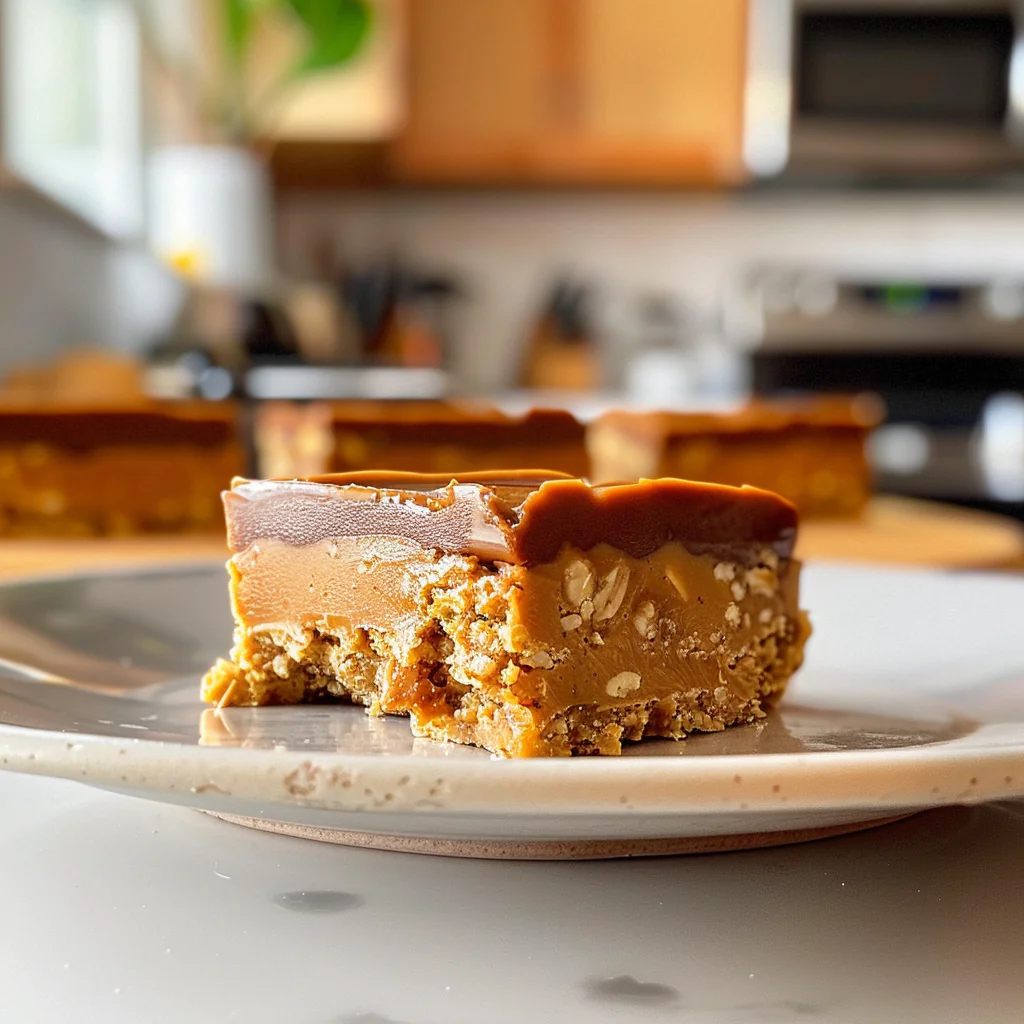
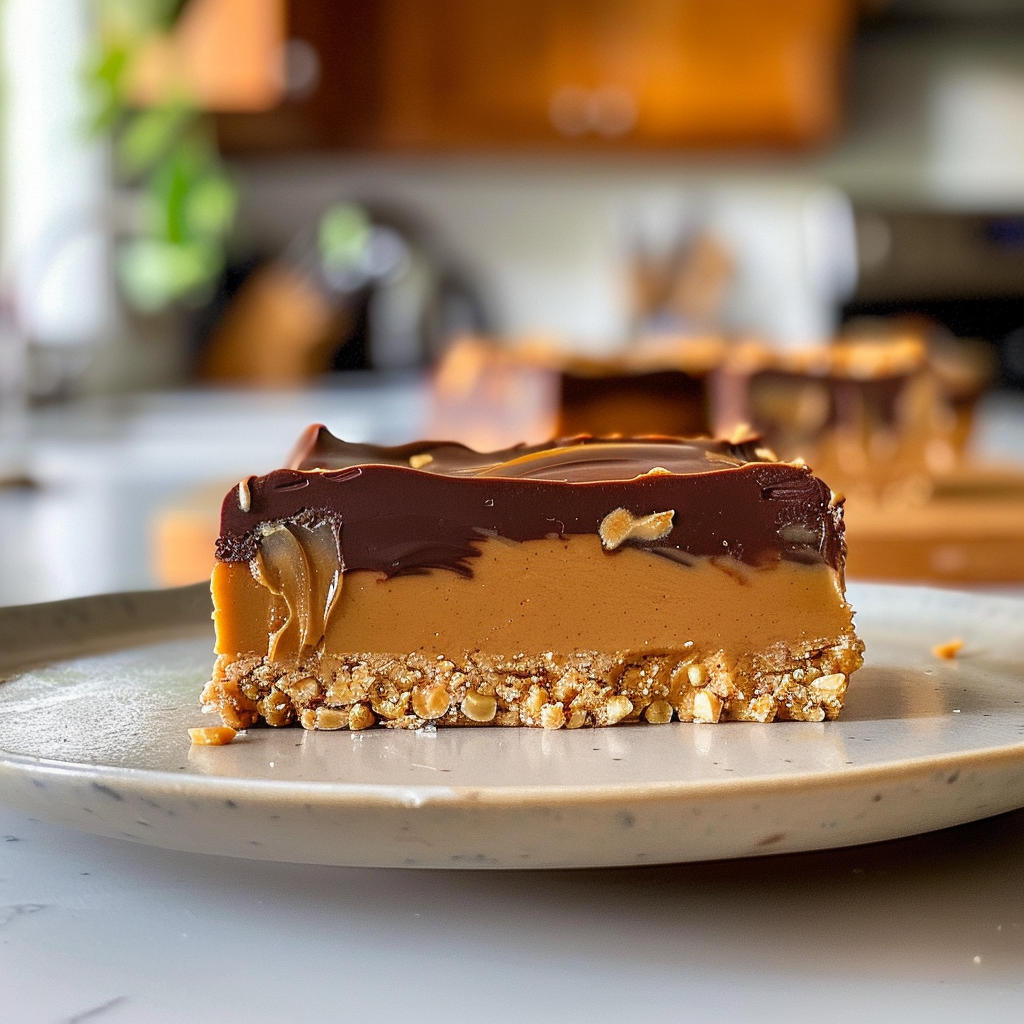
The smell of melting chocolate mingling with the rich aroma of creamy peanut butter wafts through the kitchen, promising an indulgent treat that’s impossible to resist. Picture yourself taking a bite into these luscious peanut butter bars, where smoothness meets a delightful crunch in a symphony of flavors.

I still remember the first time I made these bars for a family gathering; my cousin declared them “life-changing,” which is high praise coming from someone who once thought broccoli was dessert.
Why You'll Love This Recipe
- These no-bake peanut butter bars are a breeze to whip up, needing minimal ingredients and time
- Their creamy texture paired with crunchy bits makes each bite unforgettable
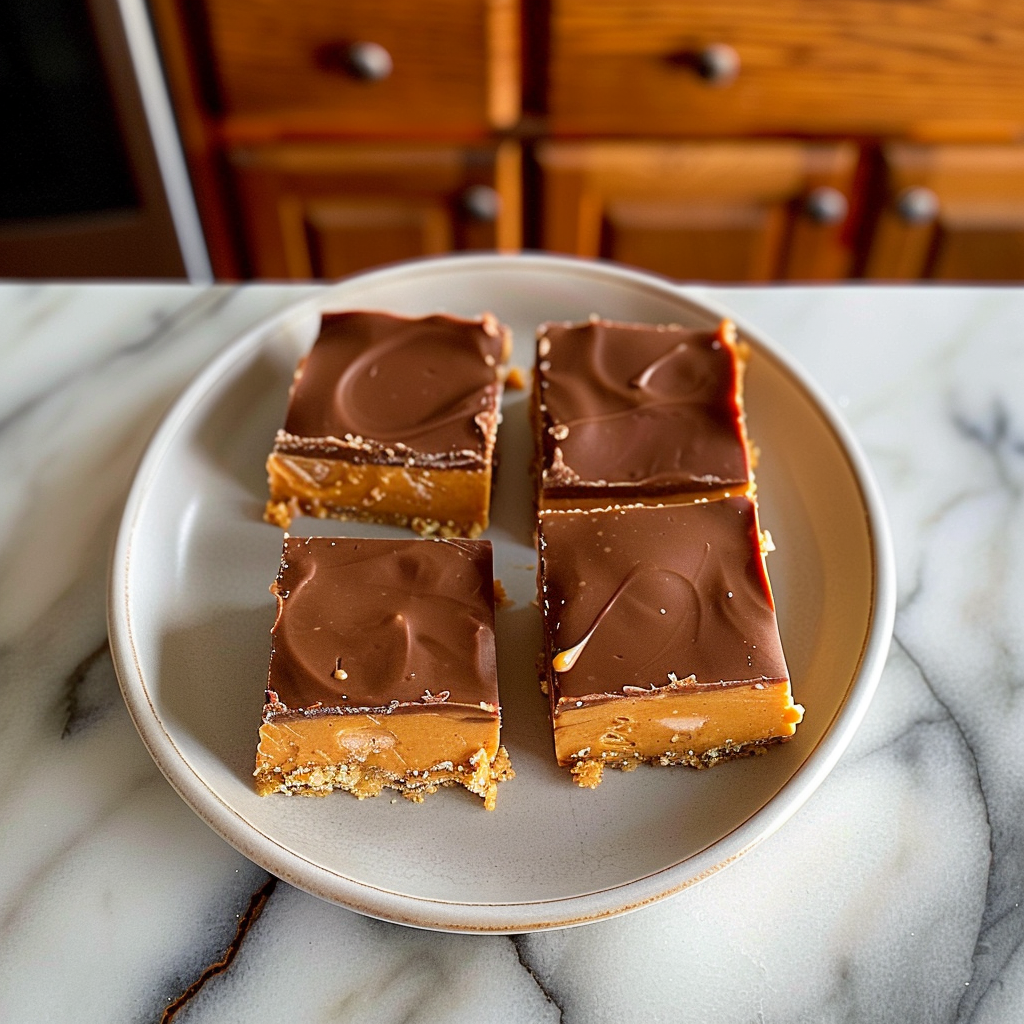
- The vibrant colors from the chocolate drizzle make them visually appealing on any dessert table
- Perfect for parties or an afternoon snack when cravings hit!
I recall friends fighting over the last piece at my birthday party; it was both hilarious and heartwarming.
Essential Ingredients
Here’s what you’ll need to make this delicious dish:
- Peanut Butter: Choose creamy or natural varieties for the best texture and flavor in your bars.
- Oats: Rolled oats work best for structure and chewiness; quick oats can also be used in a pinch.
- Honey or Maple Syrup: Both add sweetness and help bind the ingredients together beautifully.
- Chocolate Chips: Semi-sweet chips provide the perfect balance with their rich flavor; feel free to adjust based on preference.
- Vanilla Extract: A splash adds depth and enhances all the flavors in your delightful bars.
The full ingredients list, including measurements, is provided in the recipe card directly below.
Let’s Make it together
Gather Your Ingredients: Start by measuring out all your ingredients to make sure you have everything ready at hand. It saves time and keeps things organized.
Mixing It Up: In a large mixing bowl, combine 1 cup of peanut butter with 1/2 cup of honey or maple syrup. Stir until well blended and smooth. The mixture should have a luxurious texture that beckons you to dive right in.
Add Oats: Now stir in 1 cup of rolled oats until evenly distributed. You want those oats coated in that delicious mixture—think of it as giving them a cozy hug!
Incorporate Chocolate Chips: Gently fold in 1/2 cup of chocolate chips, ensuring they’re sprinkled throughout every bite. The combination of warm peanut butter and cool chocolate will make your taste buds sing!
Press Into Pan: Line an 8×8 inch baking dish with parchment paper for easy removal later. Transfer your mixture into this dish and press down firmly until it’s compacted nicely. Use a spatula or your hands—whichever feels right!
Chill Out: Cover with plastic wrap and refrigerate for about an hour or until firm enough to slice into squares easily. This chilling time allows all those flavors to meld beautifully together.
Once chilled, slice into squares or rectangles (or whatever shape you’re feeling inspired by) and enjoy your homemade creation!
These quick steps will lead you straight into sweet heaven!
You Must Know
- Peanut butter bars are not just delicious; they are simple to make and perfect for snacking
- A great treat for kids’ lunchboxes or as a quick energy boost
- These bars are also customizable, so you can experiment with various add-ins and toppings
Perfecting the Cooking Process
When making peanut butter bars, mix dry ingredients first, then add wet to ensure even distribution. This helps achieve a consistent texture and flavor throughout the bars.

Add Your Touch
Feel free to swap out honey for maple syrup or add chocolate chips for extra sweetness. You can even toss in some nuts or dried fruit for a delightful crunch.
Storing & Reheating
Store peanut butter bars in an airtight container at room temperature for up to one week. For longer storage, freeze them in individual portions, allowing easy access whenever cravings hit.
Chef's Helpful Tips
- To create the perfect peanut butter bars, ensure your peanut butter is smooth and creamy for easier mixing
- Avoid overbaking, as this can lead to dry texture
- Lastly, let them cool fully before cutting to prevent crumbling
I remember the first time I made these peanut butter bars; my friends devoured them in minutes! Their smiles were priceless, and I learned that sharing homemade treats brings people together.
FAQ
Can I use natural peanut butter for these bars?
Yes, natural peanut butter works well but may alter the texture slightly.
How do I know when my bars are done baking?
The edges should be golden brown while the center remains slightly soft but set.
Can I add protein powder to my peanut butter bars?
Absolutely! Adding protein powder is a great way to boost their nutritional value.

Easy Peanut Butter Bars
- Total Time: 0 hours
- Yield: 16 servings 1x
Description
Indulge in these no-bake peanut butter bars that blend creamy peanut butter, sweet honey, and rich chocolate chips for a quick and satisfying treat everyone will love.
Ingredients
- 1 cup creamy peanut butter
- 1/2 cup honey or maple syrup
- 1 cup rolled oats
- 1/2 cup semi-sweet chocolate chips
- 1 tsp vanilla extract
Instructions
- In a large mixing bowl, combine the peanut butter and honey (or maple syrup) until smooth.
- Stir in the rolled oats until they are fully coated.
- Fold in the chocolate chips and vanilla extract until evenly distributed.
- Line an 8×8 inch baking dish with parchment paper. Press the mixture firmly into the dish.
- Cover and refrigerate for about 1 hour until firm.
- Slice into squares and enjoy!
Notes
- For added crunch, consider mixing in chopped nuts or dried fruit.
- Store in an airtight container at room temperature for up to one week, or freeze for longer storage.
- Prep Time: 15 minutes
- Cook Time: None
- Category: Dessert
- Method: No-bake
- Cuisine: American
Nutrition
- Serving Size: 1 square (approximately 30g)
- Calories: 150
- Sugar: 10g
- Sodium: 50mg
- Fat: 7g
- Saturated Fat: 1g
- Unsaturated Fat: 6g
- Trans Fat: 0g
- Carbohydrates: 18g
- Fiber: 2g
- Protein: 4g
- Cholesterol: 0mg