

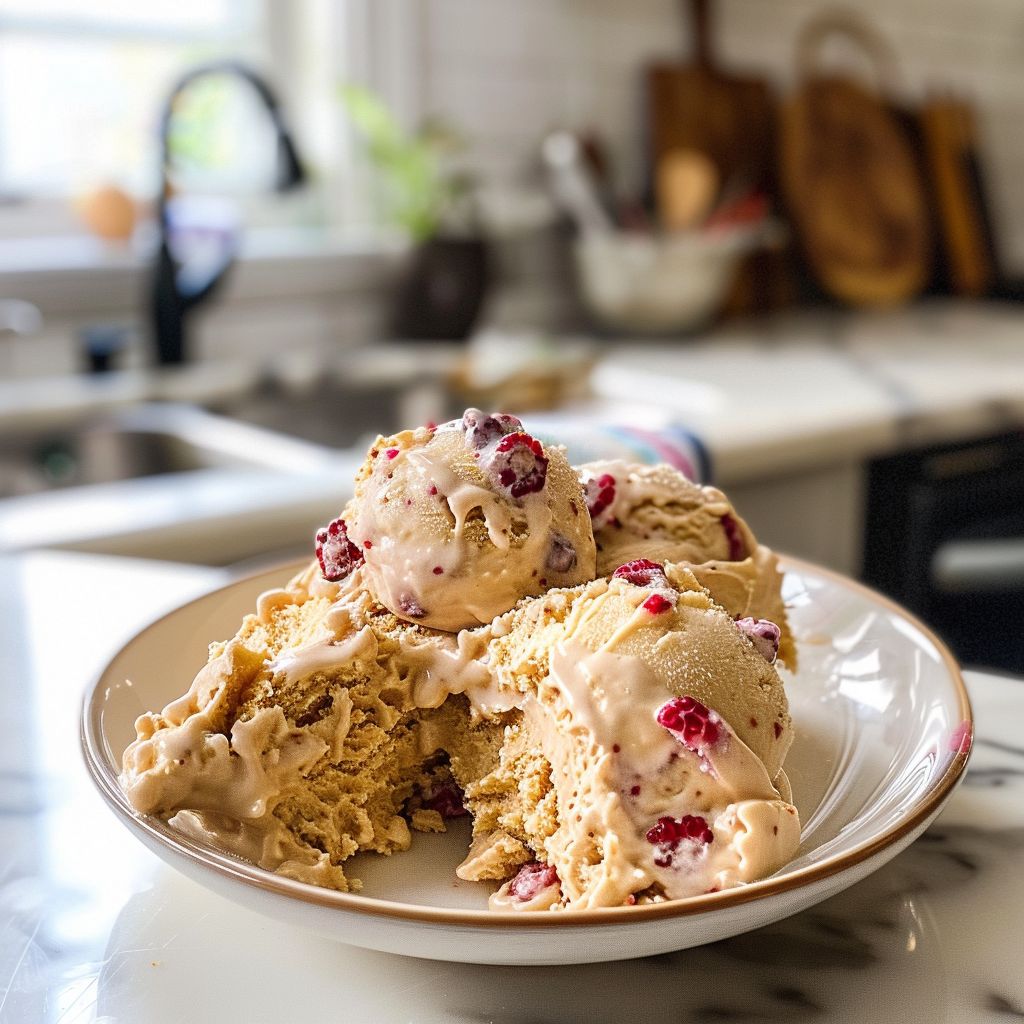
The sun is shining, the grill is fired up, and family gatherings are in full swing. What better way to celebrate Memorial Day than with a scoop (or three) of creamy homemade ice cream that will make your taste buds dance? This delightful treat embodies the essence of summer—refreshing, sweet, and oh-so-satisfying.

You’re outside with friends and family, laughter fills the air, and someone hands you a cone piled high with velvety goodness. With every lick, you feel the warmth of the day and the joy of being together. Trust me; this Memorial Day homemade ice cream will be the highlight of your gathering!
Why You'll Love This Recipe
- This Memorial Day homemade ice cream is incredibly easy to prepare while delivering rich flavors that everyone will love
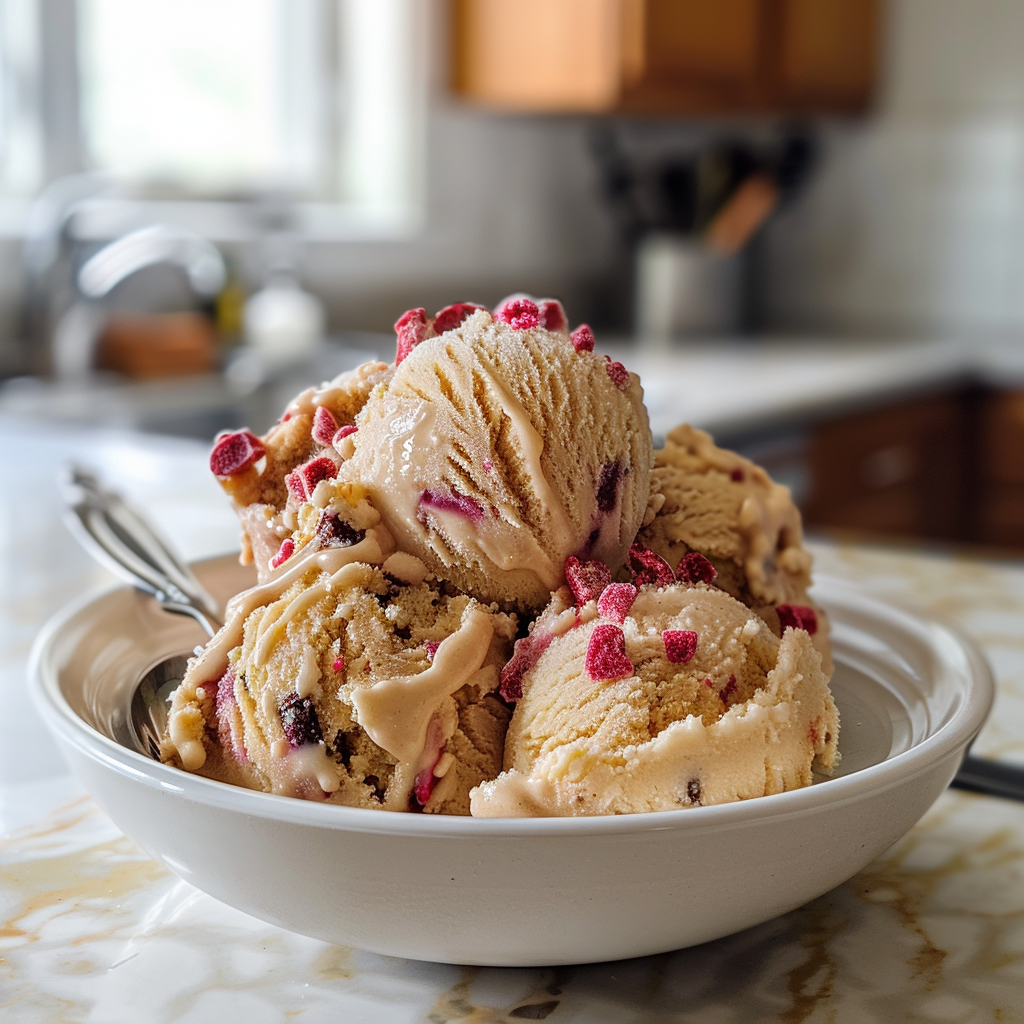
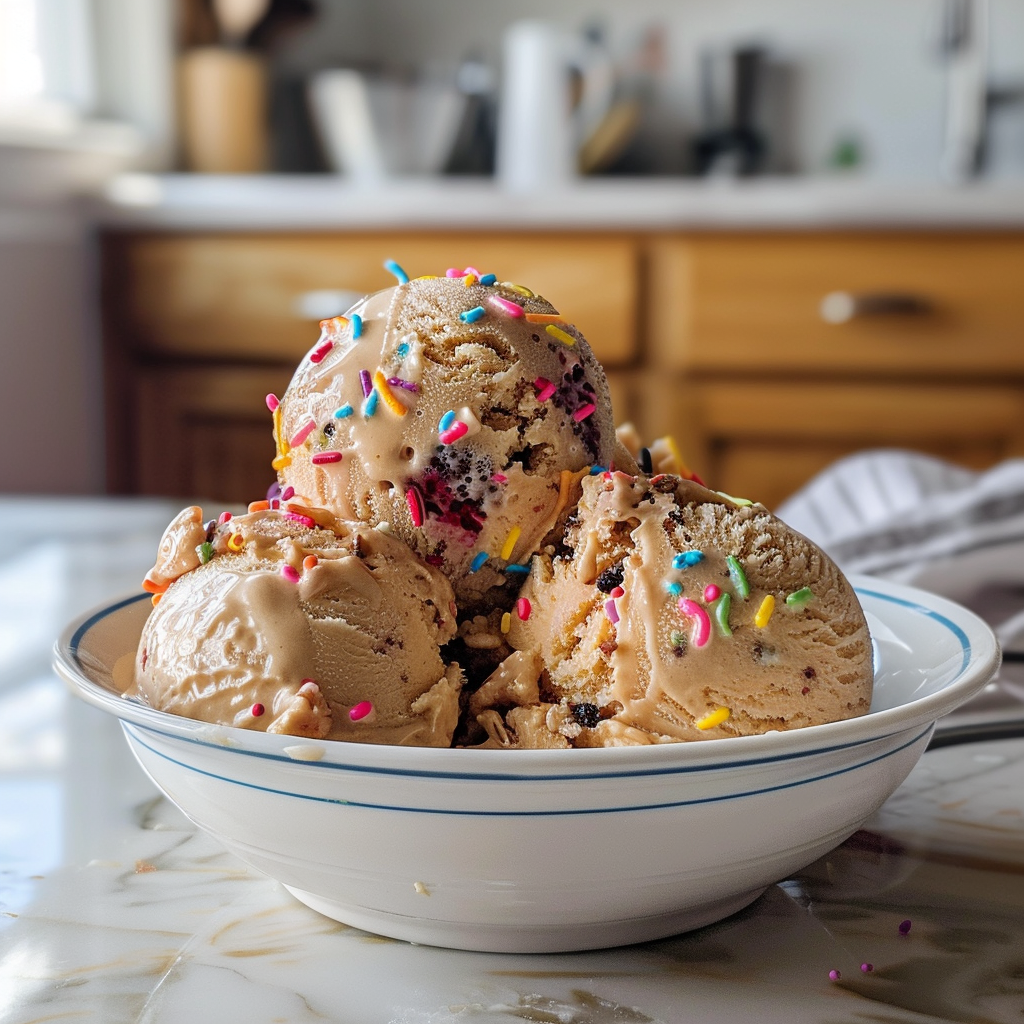
- The colorful presentation makes it visually appealing for any celebration
- It’s so versatile that you can customize flavors based on your preferences or seasonal ingredients
- Plus, it’s a fun activity to get everyone involved in making their own unique concoctions!
I still remember when I first attempted making homemade ice cream for a Fourth of July picnic. My friends were skeptical until they took their first bite—then it was all “Wow! Can you make more?”
Essential Ingredients
Here’s what you’ll need to create this tasty treat:
- Heavy Cream: Opt for fresh heavy cream to achieve that rich and creamy texture we all love in ice cream.
- Whole Milk: Whole milk adds smoothness and balances out the richness of the heavy cream.
- Granulated Sugar: Sweeten your mixture with granulated sugar; adjust based on your preferred sweetness level.
- Vanilla Extract: Use pure vanilla extract for an aromatic touch that enhances the overall flavor.
- Salt: Just a pinch brings out all those sweet flavors beautifully!
- Your Favorite Mix-Ins: Think chocolate chips, crushed cookies, or fresh fruit—get creative!
The full ingredients list, including measurements, is provided in the recipe card directly below.
Let’s Make it Together
Prep Your Ice Cream Base: Start by mixing heavy cream and whole milk in a large bowl. Whisk until well combined and smooth.
Sweeten It Up: Gradually add granulated sugar to your base while whisking continuously until all sugar dissolves completely. The mixture should feel silky.
Flavor It Right: Pour in pure vanilla extract along with a pinch of salt. Trust me; this tiny addition works wonders to enhance sweetness.
Chill Time: Cover your mixture with plastic wrap or transfer it to an airtight container. Refrigerate for at least 2 hours; this step ensures maximum flavor development.
Churn Away: Once chilled, pour the mixture into an ice cream maker according to its instructions. Churn until thickened—about 20-25 minutes or until it achieves a soft-serve consistency.
Add Mix-Ins: During the last couple of minutes of churning, add your favorite mix-ins—chocolate chips or crushed fruit work wonderfully here!
Freeze It Up: Transfer your churned delight into a lidded container for storage. Freeze for at least 4 hours before serving; patience pays off when it comes to texture!
Now you’ve crafted something magnificent that’s sure to please both kids and adults alike!
With each scoop of this Memorial Day homemade ice cream melting on your tongue like sunshine on a summer’s day, you’ll create cherished memories filled with laughter and joy around the table. So gather your loved ones and dig into this refreshing treat—it’s summertime bliss at its finest!
You Must Know
- Making Memorial Day Homemade Ice Cream is a delightful way to celebrate summer!
- The creamy texture, sweet aroma, and refreshing flavors create a perfect treat that brings joy to any gathering
- Be prepared for the smiles and happy shouts of delight when serving this delicious homemade dessert
Perfecting the Cooking Process
Start by chilling your mixing bowl and beaters before whipping cream to achieve maximum fluffiness. Blend all ingredients thoroughly before churning for an even consistency. This step ensures your ice cream is smooth and creamy, avoiding icy chunks.
Add Your Touch
Feel free to swap out flavors like vanilla for mint or add mix-ins such as chocolate chips. Fresh fruits can also enhance the taste. Personalizing your ice cream allows you to experiment and find combinations that excite your taste buds.
Storing & Reheating
Store your homemade ice cream in an airtight container to maintain its creamy texture. If it hardens too much in the freezer, let it sit at room temperature for about 5-10 minutes before scooping for easier serving.
Chef's Helpful Tips
- To achieve the best results with Memorial Day Homemade Ice Cream, always chill your ingredients beforehand
- This results in a smoother texture when churned
- Don’t rush the freezing process; patience is key for optimal creaminess
- Finally, use high-quality vanilla extract for an intense flavor boost!
Cooking this homemade ice cream took me back to childhood summers spent by the lake, where laughter echoed while we enjoyed sweet treats under the sun. The joy on friends’ faces made every scoop worth it.
FAQ
How long does homemade ice cream last in the freezer?
Homemade ice cream generally lasts about two weeks if stored properly in an airtight container.
Can I make dairy-free homemade ice cream?
Absolutely! Substitute dairy with coconut milk or almond milk for a delightful vegan option.
What mix-ins work best with Memorial Day Homemade Ice Cream?
Chopped fruits, nuts, or cookie crumbles add exciting textures and flavors to your ice cream creation.

Memorial Day Homemade Ice Cream
- Total Time: 40 minutes
- Yield: Approximately 6 servings 1x
Description
A refreshing and creamy treat that captures the essence of summer gatherings. Delight your taste buds with customizable flavors and mix-ins!
Ingredients
- 2 cups heavy cream
- 1 cup whole milk
- 3/4 cup granulated sugar
- 2 tsp pure vanilla extract
- 1/4 tsp salt
- Your favorite mix-ins (optional)
Instructions
- In a large bowl, whisk together heavy cream and whole milk until smooth.
- Gradually add granulated sugar, whisking until completely dissolved.
- Stir in pure vanilla extract and salt.
- Cover the mixture and refrigerate for at least 2 hours to chill.
- Pour the chilled mixture into an ice cream maker and churn according to the manufacturer’s instructions (about 20-25 minutes).
- Add your choice of mix-ins in the last few minutes of churning.
- Transfer the ice cream to a lidded container and freeze for at least 4 hours before serving.
Notes
- For a dairy-free version, substitute heavy cream and whole milk with coconut milk or almond milk.
- Experiment with seasonal fruits or flavored extracts to personalize your ice cream.
- Prep Time: 15 minutes
- Cook Time: 25 minutes
- Category: Dessert
- Method: Churning
- Cuisine: American
Nutrition
- Serving Size: 1/2 cup (120g)
- Calories: 290
- Sugar: 24g
- Sodium: 50mg
- Fat: 22g
- Saturated Fat: 14g
- Unsaturated Fat: 8g
- Trans Fat: 0g
- Carbohydrates: 25g
- Fiber: 0g
- Protein: 3g
- Cholesterol: 90mg