

The peanut butter and jelly sandwich is a culinary masterpiece that marries creamy richness with sweet delight in every bite. Picture biting into soft bread, where velvety peanut butter meets luscious jelly—it’s like a party in your mouth.

This delightful creation isn’t just a snack; it’s a memory-maker! I remember my childhood days when lunch meant unwrapping that glorious PB&J sandwich while dreaming of summer adventures. Whether you’re packing lunch for the kids or indulging in a nostalgic treat yourself, this classic is sure to bring smiles all around.
Why You'll Love This Recipe
- This beloved PB&J sandwich is incredibly easy to make, perfect for kids and adults alike
- The flavor combination of salty and sweet creates an irresistible taste sensation
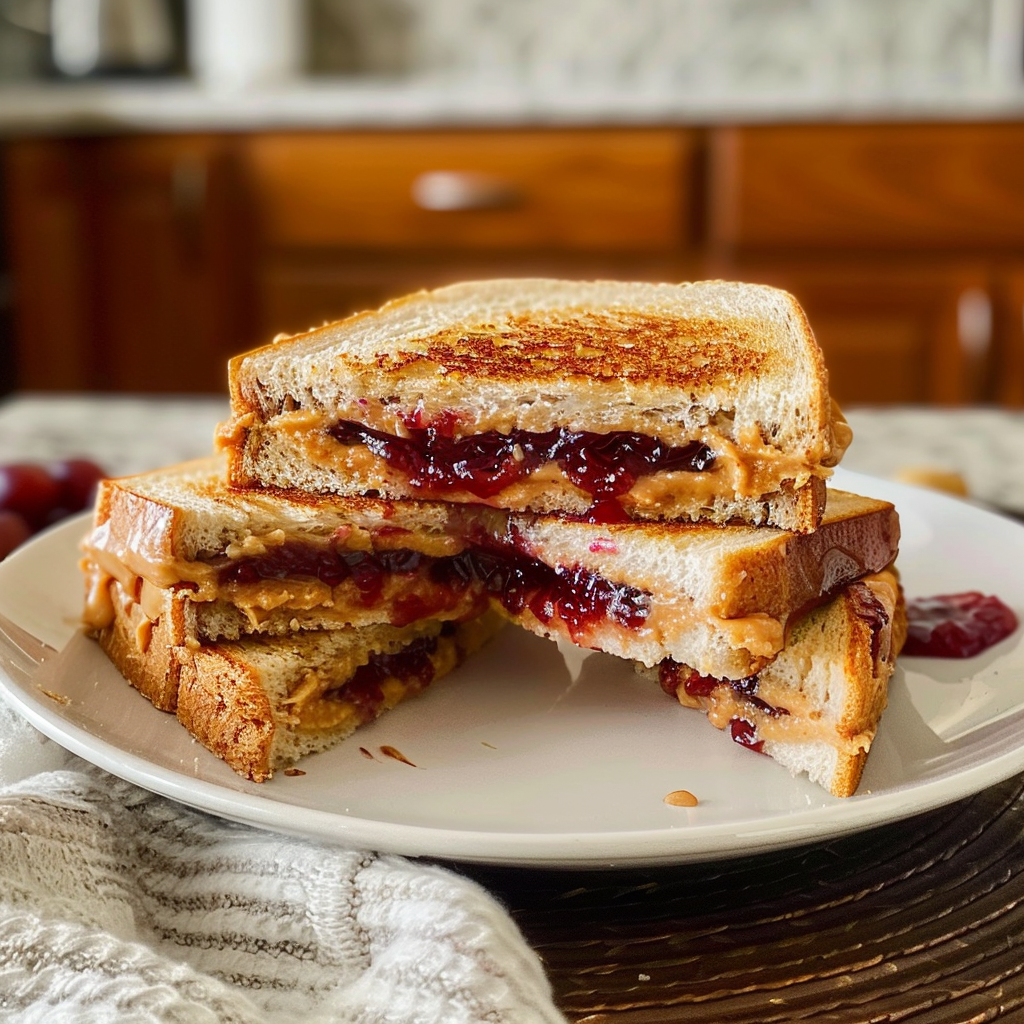
- Its vibrant colors make it visually appealing on any plate
- Enjoy it as a quick snack or elevate it to gourmet status with unique spreads!
I will never forget the day my friend brought over her fancy homemade version of the peanut butter and jelly sandwich; we devoured them in minutes!

Essential Ingredients
Here’s what you’ll need to make this delicious dish:
- Whole Wheat Bread: Opt for whole wheat for added fiber and nutrients; plus, it holds up well against spreads.
- Peanut Butter: Choose creamy or crunchy based on your texture preference; natural options add wholesome flavor.
- Jelly or Jam: Any flavor works! Strawberry or grape are classics; consider trying something adventurous like raspberry.
- Honey (optional): A drizzle adds extra sweetness; use it if you want to kick things up a notch!
- Butter (optional): Spread some on the outside of the bread for grilling; it adds a golden crunch.
The full ingredients list, including measurements, is provided in the recipe card directly below.
Let’s Make it Together
Gathering Your Ingredients: First things first—get all your ingredients together on the kitchen counter. Make sure you have everything within arm’s reach to streamline the process.
Spreading the Peanut Butter: Grab one slice of bread and generously spread peanut butter on one side using a knife or spatula. Ensure even coverage from edge to edge for maximum enjoyment.
Adding the Jelly or Jam: On another slice of bread, slather your choice of jelly or jam generously. Don’t be shy—life’s too short for thin layers!
Combining the Two Slices: Carefully place the two slices together with spreads facing each other. Gently press down to seal your culinary creation without squishing out too much filling.
Slicing Up Your Masterpiece: Use a sharp knife to cut your sandwich diagonally or vertically—whichever way tickles your fancy! Cutting helps with presentation and makes eating easier.
Optional Grilling (if desired): If you want a warm twist, heat up a skillet over medium heat. Lightly butter the outer sides of your sandwich before grilling until golden brown on both sides (about 3-4 minutes). Feel free to flip as necessary!
Now take a moment to admire your work—your homemade peanut butter and jelly sandwich is ready to be devoured! Enjoy every bite full of nostalgia and happiness.
With just these steps, you’ve transformed simple ingredients into an iconic dish that brings comfort and joy. Happy snacking!
You Must Know
- The peanut butter and jelly sandwich is not just a meal; it’s a nostalgic experience, evoking childhood memories with every bite
- Whether you’re a busy parent or a student cramming for exams, this classic delivers comfort and satisfaction in minutes
Perfecting the Cooking Process
Start by laying out all your ingredients before spreading the peanut butter first, then jelly. This method prevents sticky fingers and ensures an even spread.
Add Your Touch
Consider swapping regular bread for whole grain or gluten-free options. You can also try adding banana slices or honey for an extra flavor kick.
Storing & Reheating
To maintain freshness, store assembled sandwiches in an airtight container in the refrigerator. They taste best within 24 hours but can last up to two days.
Chef's Helpful Tips
- Use fresh bread for that delightful crunch
- Avoid using too much peanut butter to prevent an overwhelming texture
- And remember, cut the sandwich diagonally for an instant upgrade in presentation!
I remember making my first peanut butter and jelly sandwich as a kid. I proudly presented it to my family, only to realize I had used way too much jelly! The laughter still echoes in my mind every time I make one.

FAQ
How can I make a peanut butter and jelly sandwich healthier?
Use whole grain bread and natural peanut butter without added sugars for a healthier option.
Can I freeze peanut butter and jelly sandwiches?
Yes, freeze them wrapped tightly; they stay fresh for up to three months.
What are some fun variations of the classic peanut butter and jelly sandwich?
Try adding different fruits like strawberries or using almond butter instead of peanut butter.

The Ultimate Peanut Butter and Jelly Sandwich Recipe
- Total Time: 10 minutes
- Yield: 1 serving 1x
Description
Peanut butter and jelly sandwiches are a deliciously nostalgic classic, combining creamy peanut butter with sweet jelly between soft bread. Perfect for lunch or a quick snack!
Ingredients
- 2 slices whole wheat bread
- 1/4 cup creamy or crunchy peanut butter
- 1/4 cup jelly or jam (strawberry or grape recommended)
- 1 tsp honey (optional)
- 1 tsp butter (optional for grilling)
Instructions
- Gather all ingredients on your kitchen counter.
- Spread peanut butter evenly on one slice of bread.
- Generously slather jelly on the other slice.
- Press the two slices together with spreads facing each other.
- For a warm sandwich, butter the outer sides and grill in a skillet over medium heat until golden brown (about 3-4 minutes per side).
- Slice diagonally or vertically and serve immediately.
Notes
- Experiment with different jams or add banana slices for extra flavor.
- Store assembled sandwiches in an airtight container in the refrigerator for up to two days.
- Prep Time: 5 minutes
- Cook Time: 5 minutes
- Category: Snack
- Method: Grilling
- Cuisine: American
Nutrition
- Serving Size: 1 sandwich
- Calories: 360
- Sugar: 20g
- Sodium: 300mg
- Fat: 16g
- Saturated Fat: 3g
- Unsaturated Fat: 11g
- Trans Fat: 0g
- Carbohydrates: 46g
- Fiber: 6g
- Protein: 10g
- Cholesterol: 0mg